Be yourself; Everyone else is already taken.
— Oscar Wilde.
This is the first post on my new blog. I’m just getting this new blog going, so stay tuned for more. Subscribe below to get notified when I post new updates.
Be yourself; Everyone else is already taken.
— Oscar Wilde.
This is the first post on my new blog. I’m just getting this new blog going, so stay tuned for more. Subscribe below to get notified when I post new updates.
This is a short clip of my father playing the coin collection game I created. It was very hard for me to get it working on my laptop and took hours to produce, but the concept is essentially the same as Mario bros as there is a mini level and a coin to collect as a little animated glob.
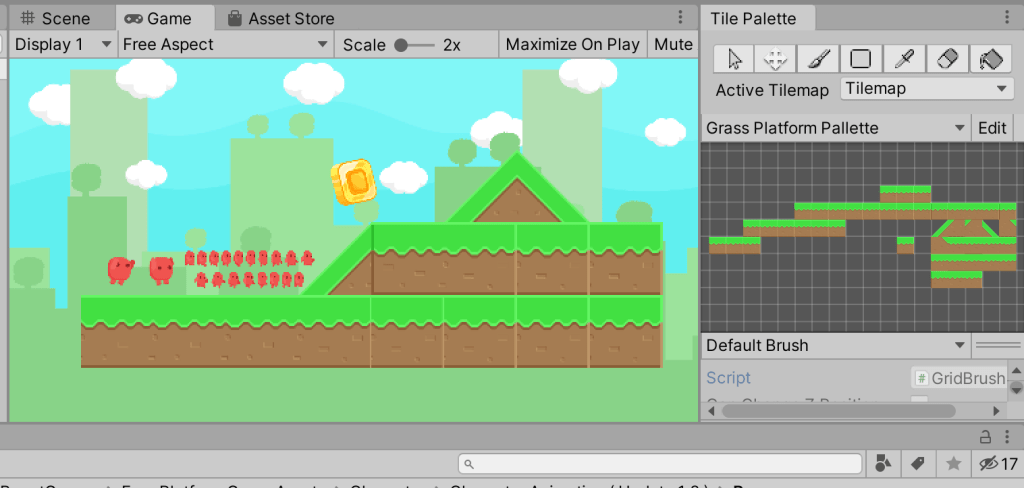
This is a snippet of me creating the game inside unity, and shows the animation reel of the character going through his motions as well as the coin that is to be collected. It is a basic design and I used the asset store to get the back ground as well as the blocks and character. I had to embed multiple images of the coin and character to get the character to move and the coin to rotate on the level. I used the Free Platform Games Asset pack as well as the Sunnyland Asset pack to create my level.
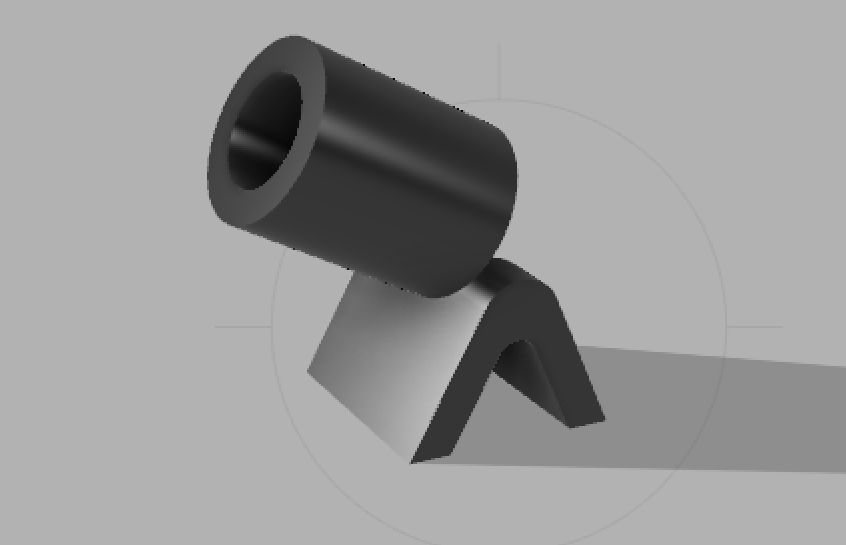
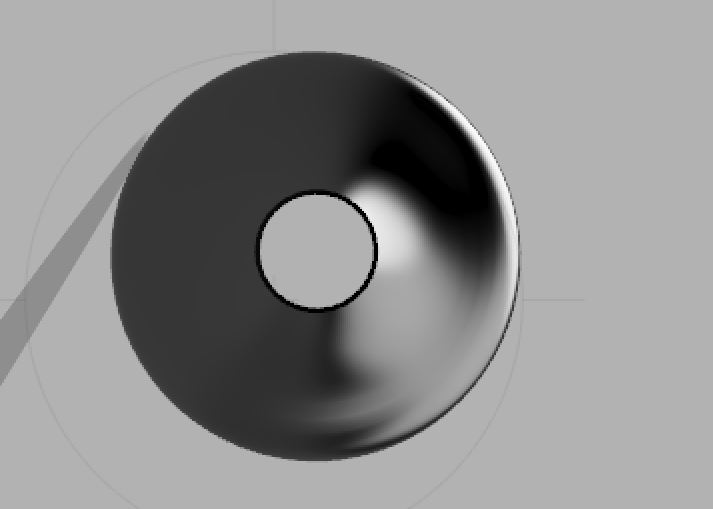
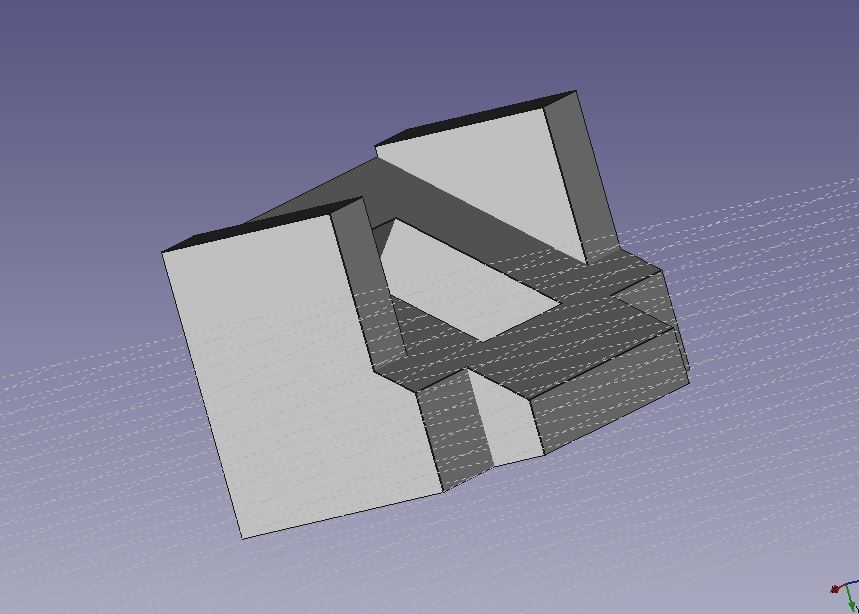
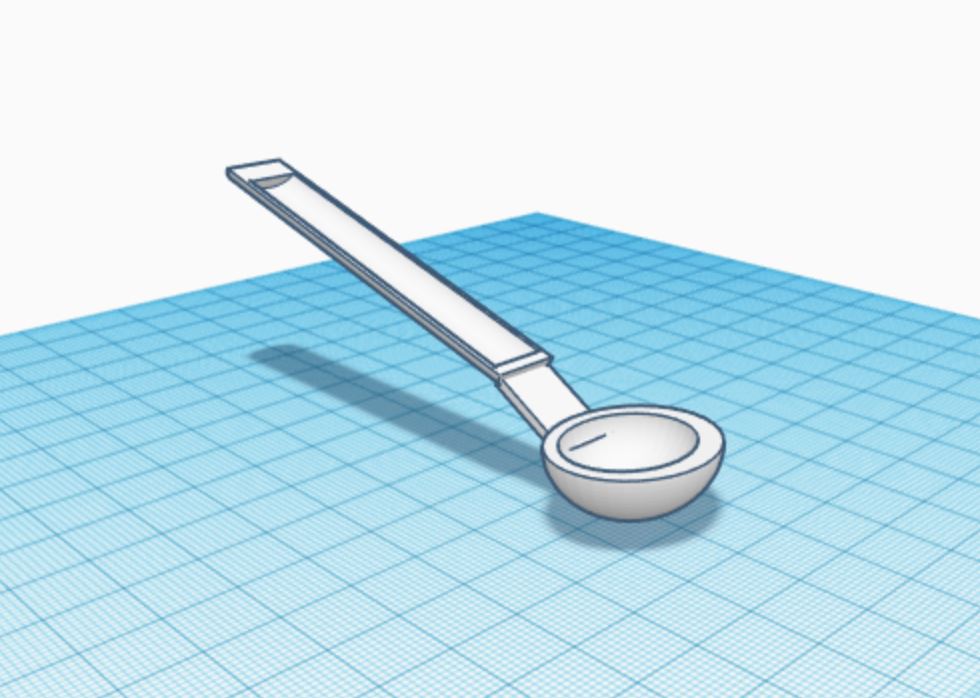
This is my to-scale crimp for adding a suction device to the back of my shower rack. Measured out, the wedge on the bottom is 40 mm wide which is just enough to lodge itself into the back of the rack, with the cylindrical top to face the shower wall. The cylinder itself has an extruded center with a circumference of 25 mm to fit a standard suction cup into.

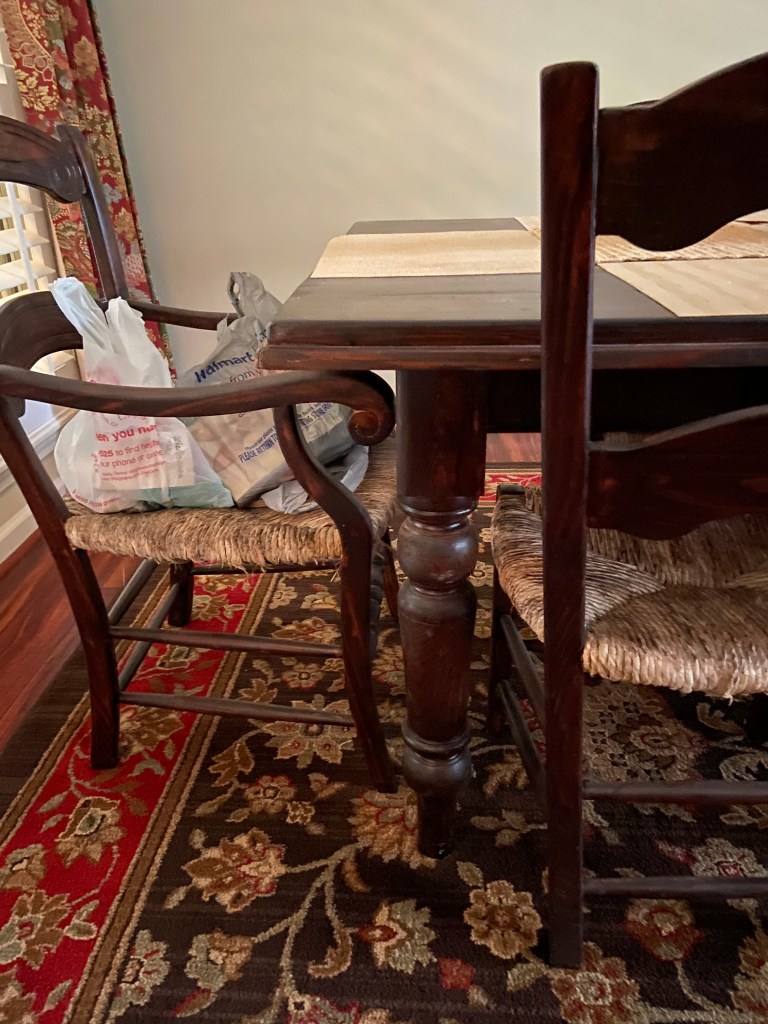
This is the shower rack I would attach the crimp onto. The back spoke has a measurement of 40 mm across, just enough the slide the crimp into place.
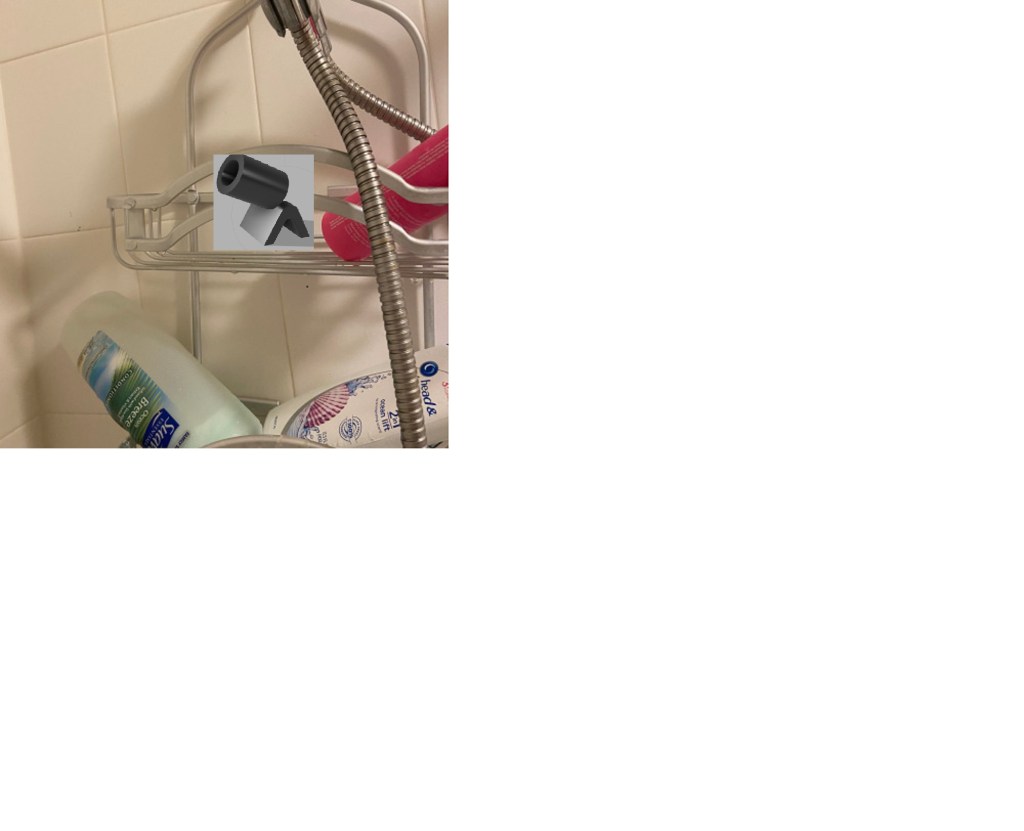
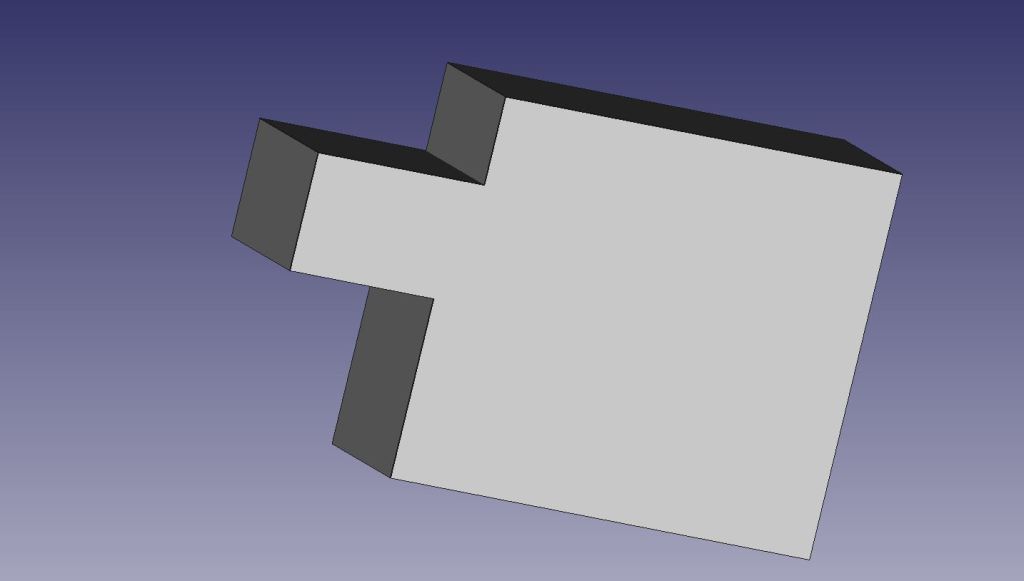
This is my super poorly edited final piece. The goal is to wedge the V shaped bottom perpendicularly into the shower rack with the cylinder facing the shower wall.

The first object was extremely easy to produce and I did so in about five minutes. It was a good intro into the basics of working the software.


For the lamp shade I decided to model one of the shades I have in the kitchen of my house over our bar that encompasses the light bulb in an aesthetic way. This one was relatively easy to complete.

The flask was much harder to complete than the first two objects and took much longer than I anticipated. Due to poor time management, I was unable to produce the bowler hat. I enjoyed using the fusion 360 software much more than free cad and about the same as tinker cad. I felt as though this software was the most seamless in producing objects in the way I wanted.


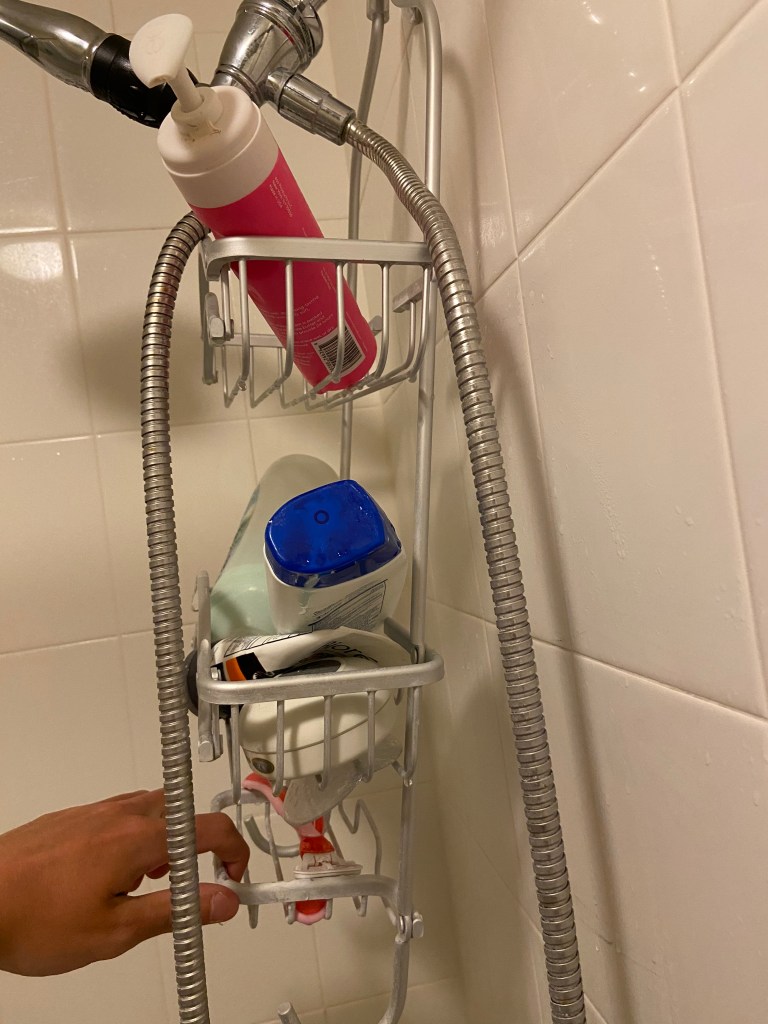
In my shower at home, I have this shower rack that is very useful for holding a plethora of items such as shampoo and body wash for use while in the shower. The problem is, there should be a way to attach a suction cup onto the rack but the plastic piece that use to be there is missing. If I were able to 3-D print a plastic clip that would attach to a suction cup, this would solve my issue of having the rack slip forward when the shower is on. This would be extremely helpful as I get tired of having to worry if all my shower accessories are going to fall all over the place.
I deeply apologize for not having this picture in the same angle as the example finished product. I literally tried for 20 minutes with the touch pad on my laptop to get the object as centered as possible and this was the best shot i could get. I really don’t know why it was giving me such a hard time to figure it out, I went on YouTube and even tried connecting a mouse to my laptop but this was the best shot I could get. Followed the tutorial and was very helpful for the next two objects in learning the basic functions of how FREEcad works.

Here is the object I plan on using for the table I do my homework on while I am home for the semester. I calculated the measurements with a tailor measuring tape on the curvature of the corner of the table. Following the tutorial you posted, I created this object with the appropriate measurements for my specific table.

For object 3 A and object 3 B, I chose to keep things simple and make two puzzle pieces as when these are combined, they can be held at any angle and not fall apart. I also do not feel very confident with my FREEcad skills and I am proud of what I was able to accomplish.
Tinkercad was quite challenging for me with making sure all the objects were structured properly. I had the most issues with the sunglasses as refining the lenses took me over an hour on YouTube trying to figure it out. YouTube and your in class examples on how to format the objects were extremely helpful.


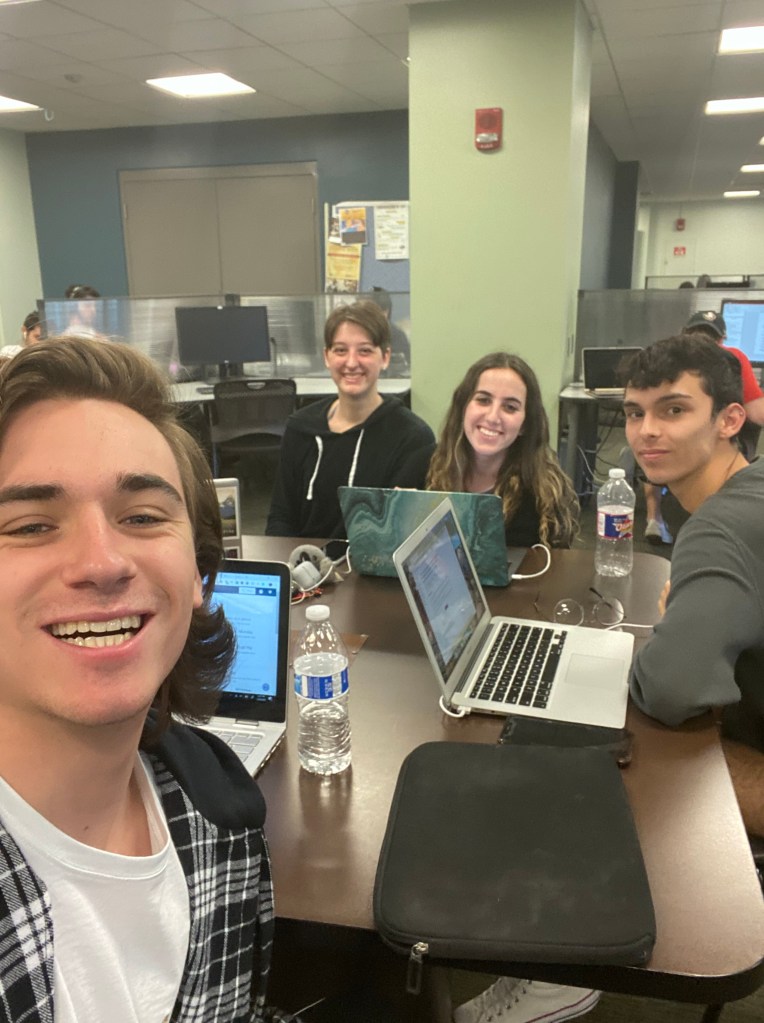
Our group has in total worked on this twice now in class and once outside of class. We have been building the app on Catalina’s emulator, and our app is learning about psychology through dogs. We have the screens of the app developed, along with the blocks to allow sounds and screen switches. We are on track to complete on time, and I specifically have been taking notes and assisting when necessary on the emulator. I plan on presenting for the group as well. Here is a real nifty picture of our group hard at work building the app.
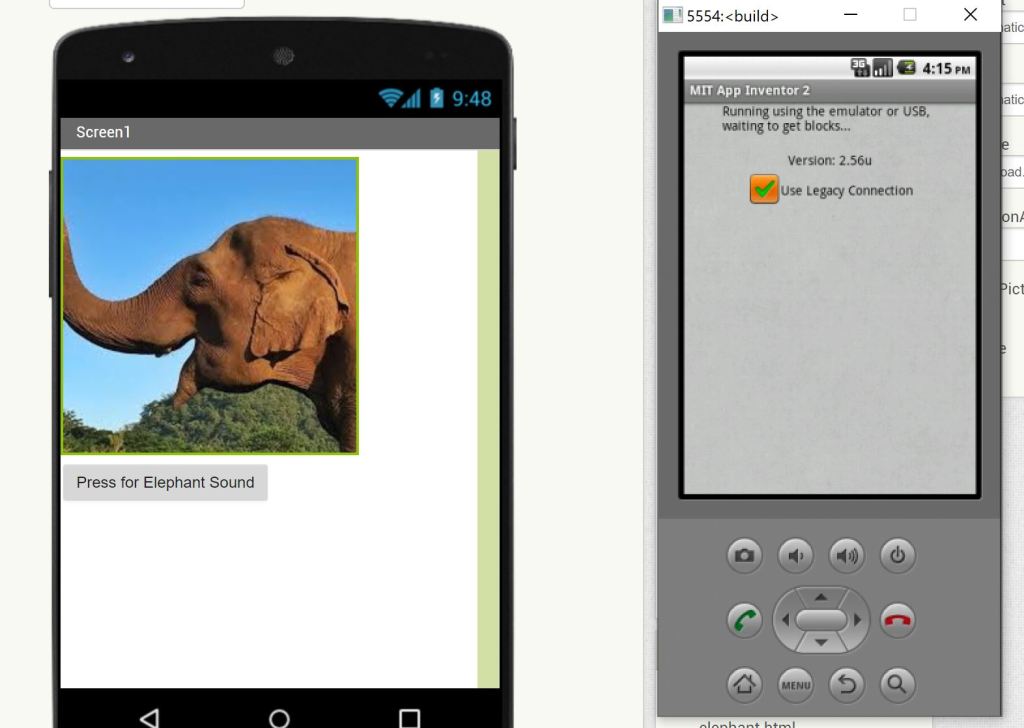
For my emulator app I used the inspiration of the ostrich sound app in class to create my very own creative spin off. I present to you the elephant sound app. I know right, so creative. Only problem was I hit a snag while trying to get the app to appear on my emulator. I got the actual MIT app inventor on the emulator but could not figure out why my beautiful elephant sound could not display. The app would just keep saying “Running using the emulator or USB, waiting to get blocks…” and I could never get past the screen. I probably did something very stupid and missed an obvious step, but going by what I learned from you in class and my very limited experience with software made for elementary school students, I must say I am semi-proud of what I was able to accomplish. Hope this will do. I look forward to figuring out what is left to be done to get my elephant on my emulator.
This is an example post, originally published as part of Blogging University. Enroll in one of our ten programs, and start your blog right.
You’re going to publish a post today. Don’t worry about how your blog looks. Don’t worry if you haven’t given it a name yet, or you’re feeling overwhelmed. Just click the “New Post” button, and tell us why you’re here.
Why do this?
The post can be short or long, a personal intro to your life or a bloggy mission statement, a manifesto for the future or a simple outline of your the types of things you hope to publish.
To help you get started, here are a few questions:
You’re not locked into any of this; one of the wonderful things about blogs is how they constantly evolve as we learn, grow, and interact with one another — but it’s good to know where and why you started, and articulating your goals may just give you a few other post ideas.
Can’t think how to get started? Just write the first thing that pops into your head. Anne Lamott, author of a book on writing we love, says that you need to give yourself permission to write a “crappy first draft”. Anne makes a great point — just start writing, and worry about editing it later.
When you’re ready to publish, give your post three to five tags that describe your blog’s focus — writing, photography, fiction, parenting, food, cars, movies, sports, whatever. These tags will help others who care about your topics find you in the Reader. Make sure one of the tags is “zerotohero,” so other new bloggers can find you, too.
